Salesforce Lightning: Package Upgrade 3.529
Upgrade instructions from 2.38 - 2.58 to 3.529 in Salesforce Lightning
For 3.0 version users, you will need to install the new package link below and no page layout changes are needed. Click on the link below and log in with the Salesforce instance you would like to install to.
This article will cover the following topics:
- About AdvocateHub Package for Salesforce
- Updating the Influitive AppExchange Package
- Adding and Removing Components in the Page Layouts
- Account Object Layout
- Adding Influitive Acts of Advocacy table
- Adding ReferencesRelatedList Component
- Opportunity Object Layout
- Adding References Received via Influitive Component
- Account Object Layout
About AdvocateHub Salesforce Package 3.529
This AppExchange Package is the newest and latest version (Version 3.5) and it includes the following new updates:
- New References Dashboard Report that tracks revenue impacts and win rates
- Improvement of Reference criteria matching tool
- Reference Request Tool Configuration settings
- Mark Important notes as mandatory or optional
- Choose Account and Opportunity Contact Prospects or just Opportunity Contact
- Choose whether to hide or display the recommendation criteria step
- Customizable Nomination button and new Hub flow for contact nomination
- Bug fixes
Updating the Influitive AppExchange Package 3.529
AppExchange Package Link
- Login to your salesforce.com account as a Salesforce administrator.
- Open a new tab and click on the following link to install the following package:
- Select Install for All Users, mark the checkbox and click Upgrade.

- Once Installation is completed, you will see the completion message or email. Login to your Salesforce to check if the package version (Setup > Platform Tools > Installed Packages > Package Name: AdvocateHub > Version Number 3.5+).
Notes:
- If you wish to install the AppExchange package to a Sandbox instance, make sure that you are signed into the Sandbox instance before clicking on the link to install (as per Point 2 above). Otherwise, it will install to your Production instance.
- We are currently applying to be a member of the Salesforce AppExchange Partner program. Therefore, please mark the acknowledgment checkbox to install the new package in the meantime. We thank you for your understanding.
Connect Salesforce Environment and the Hub
After the AppExchange package is updated, please ensure the Influitive-Salesforce integration in your Hub is still connected.
- In the AdvocateHub, click on the Gear icon in the top right corner of the screen and click on Integrations to go to the integration library.

- Browse through the integration library until you find the Salesforce integration and click Manage.

- To confirm your credentials, navigate to the Setup Tab and change the AppExchange version to the version you've just installed (3.529) and click Save.

- If you run into any issues or received any error messages, please consult our Salesforce Errors and Troubleshooting documentation. If you can't find the answer to the issue, please take a screenshot of any error messages you've received and send an email to support@influitive.com.


Updating Components in the Page Layouts
After installing and deploying the updated AppExchange package, the Salesforce administrator will need to modify a few object's layouts to add the Influitive integration components to remove the old components and replace them with the new components.
For further information on modifying Salesforce Page Layouts, please visit this Salesforce Help Page.
Page Layout Checklist
| Objects | Components |
| Contacts |
|
| Account |
|
| Opportunity |
|
| Salesforce Dashboard |
|
Account Object
Influitive Acts of Advocacy Table (by Account)
- In your Salesforce instance > Go to Object Manager > Account > Page Layout > Select Layout
- In Related List, drag and drop the “Influitive Acts of Advocacy” into the layout
Here's what the Influitive Acts of Advocacy Table will look like. It will contain all the Hub activities done by the Hub members from the Salesforce Account.


References Received via Influitive (by Account)
- Go back to Object Manager > Account > Lightning Record Pages > Choose a layout
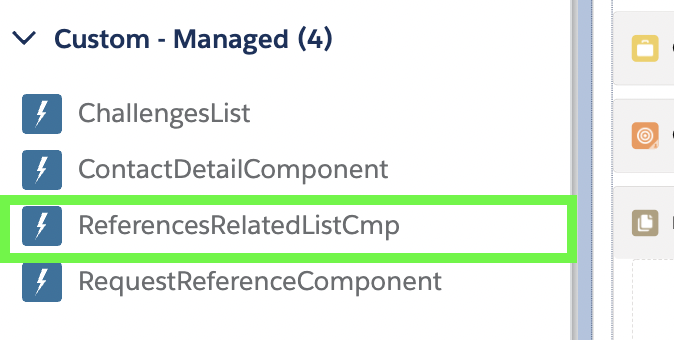
Once you’re in the Lightning app builder > on the left menu, scroll down to Custom - Managed components > Select ReferencesRelatedListCmp and drag it to the layout
- Select the Related list section and on the right side of the page select Enhance List.
- Click Activation and Save.
This will be the new Related List Component that will record the reference activities for the selected Prospect’s Account and the Influitive Acts of Advocacy of the Hub member’s Salesforce Account.


Opportunity Object
- Go to Object Manager > Opportunity > Page Layout > Select Layout
- In the Related List > Drag and drop References Received via Influitive into the Layout
- Click on the wrench icon and add the following fields: Acts of Advocacy Name (Required), Advocacy Type, Source Title, Date Occurred, Prospect, Content, Opportunity, Prospect.
- Click Save Layout
Here's an example of what this looks like. This component will include all reference activities the Opportunity has received.


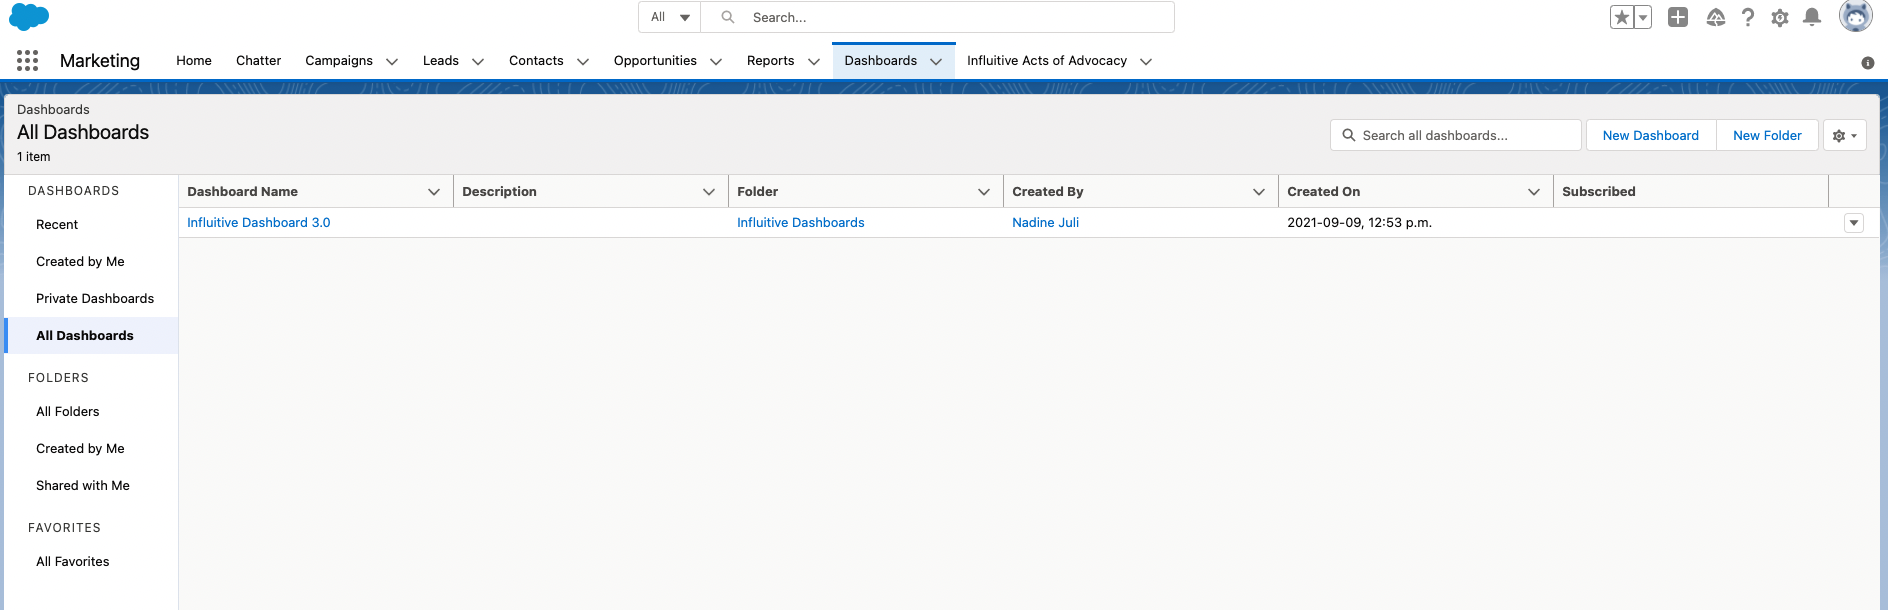
Salesforce Influitive Dashboard
- Head over to the Dashboard > Dashboard List
- Remove the other Influitive Dashboards, there should only be one dashboard: Influitive Dashboard 3.0
- Please note that when you delete a Dashboard, all the customizations done in that report will be deleted as well.